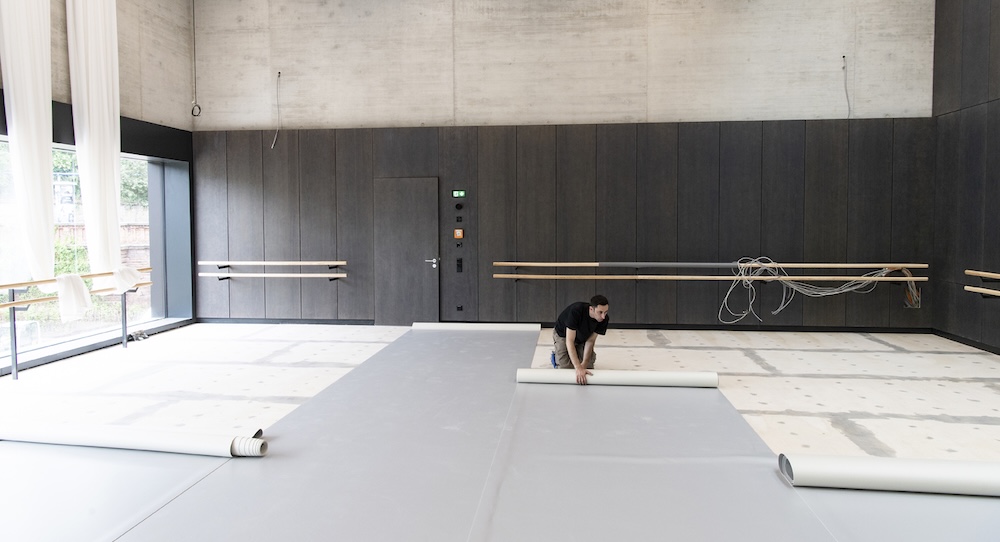
If you strive to own a dance studio, you’ll probably envision a seating area for parents or a place for dancers to leave their sneakers. You will most likely have a bathroom and also mirrors. And to be a dance studio, you will most certainly need to have a dancing space – a dance floor. So, what goes into building that dance floor anyway? How does it get built, who builds it, and how can you ensure it’s built to last?
Here, Dance Informa speaks with Bill Brown and Molly Sugg from Gerriets Dance Floors for all those answers and more. Let them be your guide!
What should studio owners know about what goes into building their dance floor? Where’s the best place to start – literally?
Bill Brown
“First, get accurate room dimensions, and make sure you have a flat, sturdy and dry subfloor. From there, think about how the space will be used and what types of dance will be performed.
Once you have those details, the Gerriets team can help you choose the right dance floor for your studio and make sure you have everything you need to get started. We’re here to help make the process as easy as possible!”
Is building a dance floor something that studio owners can do on their own with some handy people to help, or is it best to outsource and have the flooring company hired for full installation? Or is it a mix – there are things that are essential for the flooring company to do and then other parts that studio owners and staff or volunteers should be able to handle?
Molly Sugg
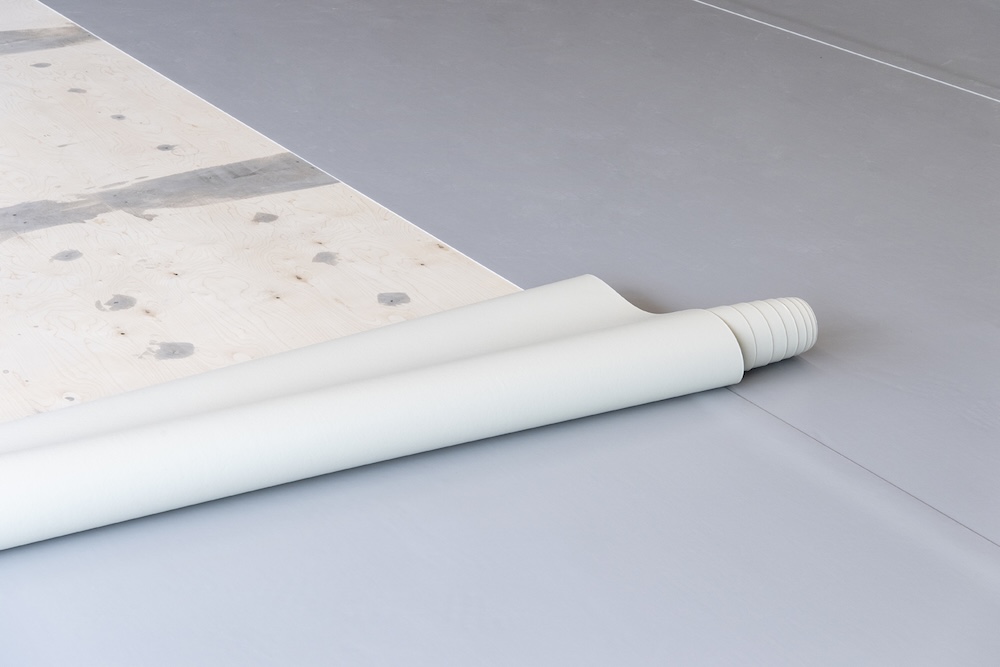
“Dance floor installation can be a simple DIY project for many studio owners. Gerriets sprung floors can be custom made to fit your space and are easy to install with basic handy skills. Marley floors can also be installed using a straight edge and a knife to cut the floor to fit.
The main part that requires a professional is welding Marley seams. If you want a seamless, welded installation, we recommend having an experienced flooring professional handle it. Otherwise, many studio owners, staff or volunteers can install their own dance floor.”
What are the steps of building a dance floor?
Sugg
“Installing a dance floor is easier than you might think! We have step-by-step installation guides for both our sprung floors and Marley floors to walk you through the process. You can find the guides here:
And if you have any questions while installing your floor, we’re always just a phone call or email away and happy to help!”
What do you think is the most challenging part of building a dance floor? What’s the most fun part? And what’s the simplest part?
Brown
“The most challenging part is making sure everything is measured correctly and fits the space. That’s where the Gerriets team is always happy to help make sure you have the right floor and the right amount of flooring.
The most fun part is seeing the finished dance floor come together and watching a space transform! We always love seeing the before-and-after photos from our customers’ projects.
The simplest part is often installing the Marley. With a straight edge, a knife and a little patience, cutting and laying out your Marley dance floor is a pretty simple process.”
Is there a way that studio owners can turn this building process into a community or studio bonding event and process? What are some ways that studio owners could recruit parents or volunteers to assist?
Sugg
“Of course! Installing a dance floor can be a great way to bring your studio community together and get parents, staff and volunteers involved. Turn the installation into a team-building event and make a day of it!
Studio owners can offer something fun in return, like a parent’s night out, pizza party or movie night, to encourage families to come out and help. It’s a great way to get everyone involved while working together to create a new space for the dancers.”
What are your biggest tips when it comes to building a dance floor?
Brown
“Measure twice, cut once! One of the biggest things is making sure you have accurate room dimensions before you get started. With our sprung floors, we do the extra work of making them custom to your space, so they should only need slight cuts to fit perfectly.
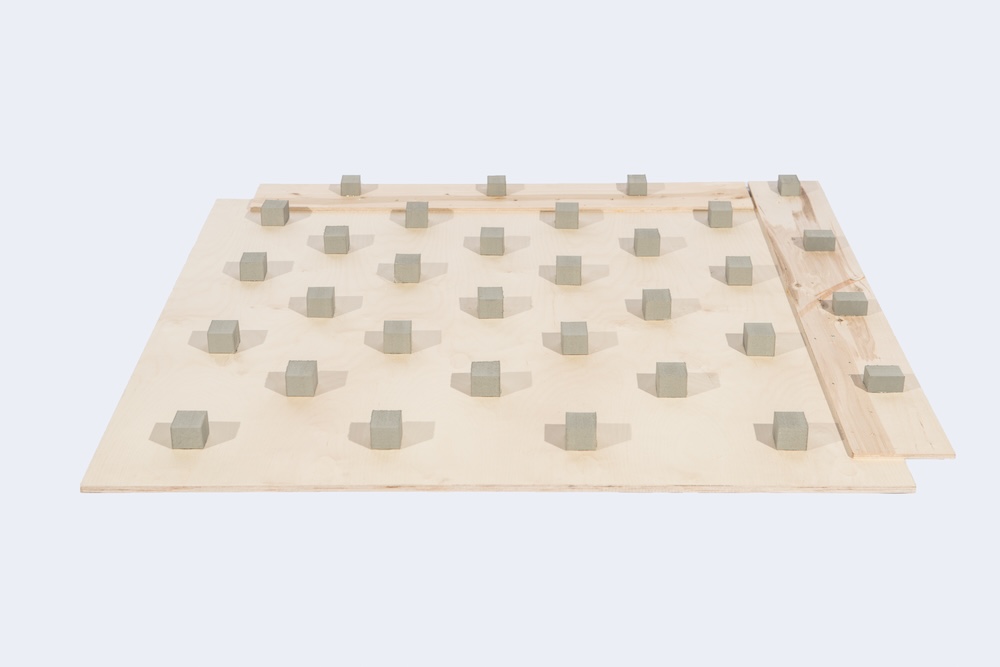
For Marley, having the correct room dimensions helps us determine how much flooring you’ll need. And remember, it’s always easier to cut a little more off than to wish you had more later!”
What are some ‘must-haves’ when building a dance floor, to ensure longevity, safety and aesthetic?
Sugg
“Proper installation and preparation are key. Follow the installation instructions, and make sure you have a flat, sturdy and dry subfloor before installing your sprung floor or Marley floor.
Once your floor is installed, regular maintenance will help keep it looking and performing its best. Use Gerriets VARIO DailyClean regularly and VARIO DeepClean when you notice extra dirt or buildup. Keep outside shoes, food and drinks off the dance floor, and stick to just water in the studio. These simple steps can go a long way in keeping your dance floor clean, safe and looking great for years to come!”
Do you have anything else to add about building a dance floor, or things studio owners should know ahead?
Brown
“Don’t be afraid to ask for help! Building a dance floor may seem like a big project, but it can be much easier than you think with the right preparation and guidance. The Gerriets team is always here to help you choose the right floor and answer any questions along the way. Visit our website to learn more about our dance floors, installation options and floor care products, or give us a call and talk with one of our flooring specialists.”
By Laura Di Orio of Dance Informa.
Sponsored content.
Share this: