
Owning a portable dance floor comes with many benefits. You can, at any time, uninstall your floor from one location and transport it to another. This comes in handy when you’re moving to a new location or going on tour. If you’re planning on moving your portable floor system, you’re going to need to know how to do it the right way; otherwise, you may end up with a damaged floor.
Here are some tips and tricks on removing and transporting your flooring system.
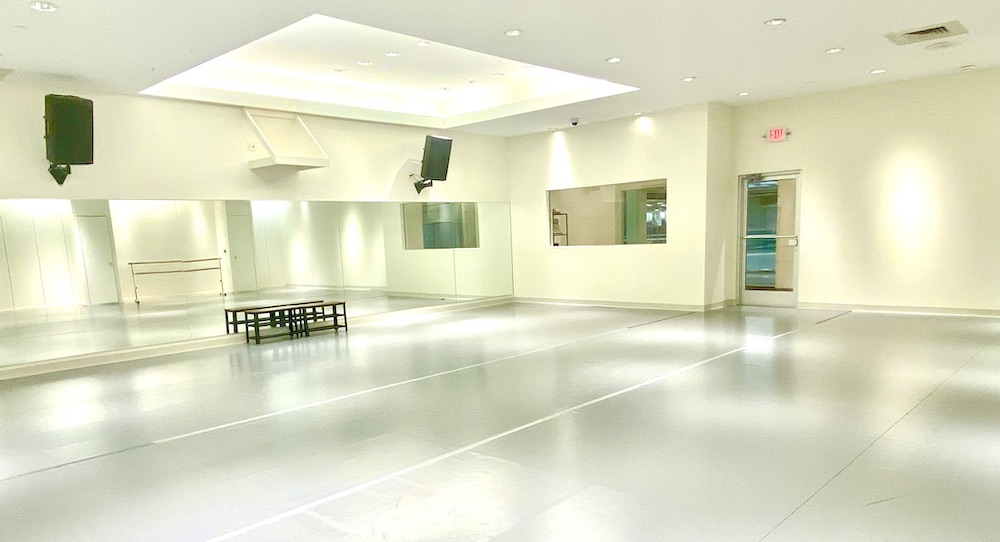
Which floors are portable, and which are transportable?
Some Marley floors are lighter and more flexible and are better for touring because they are less likely to get damaged. They include Stagestep’s Timestep T™, Bravo Classic™, Super Bravo™, Super Bravo Pro™, Rave™ and Super Timestep™.
In fact, unless they are glued down, virtually all Marley floors can be transported and reinstalled in a new studio or tour from location to location. The key to moving the floor is first they should be wrapped around a pvc 4”-wide tube the length of the width of your floor, and second, they should be protected by a touring bag or corrugated packaging. Never muscle, stretch, yank or flip your floor over.
In transport, the flooring rolls should be secured so they do not move around, and they should never be stored on top of each other which can cause waves to form when the floor is rolled out.
How to uninstall your floor and disengage tape
The first thing you need to do when you decide to remove and move a portable dance floor is thoroughly clean it. You don’t want any dirt or residue to remain on the floor during storage and transport. Use products like Stagestep’s ProClean™ or SimplyGone™.
Assuming your floor is Marley, you are going to have to disengage the tape. Getting the tape off the floor can sometimes be difficult, so remove the adhesive residue with a bit of water from a spray bottle. This will soften the adhesive, allowing you to peel off the tape. Regardless of which tape you use, there will be residue. Before rolling the flooring up, remove anything sticky with Wipeout Plus™.
If your floor was glued in place, you will not be able to remove it for transport without damaging it and your subfloor.
Don’t muscle the floor while rolling it. Take your time. Store the rolls of flooring vertically until you are ready to transport. Make sure you keep them away from direct sunlight and excessive heat.
Protecting your dance floor
During transport, your floor can be subjected to temperature changes, dirt and jostling. You want to protect it from damage. Prior to loading the flooring, wrap it in a shrink wrap or other protective material to keep it clean.
Transporting a dance floor
The day has arrived and you’re ready to transport your flooring. If you’re working with Marley, it is best to stand the rolls of flooring up vertically for the entire trip if possible. Portable wood dance flooring, such as Stagesteps’ Encore™ or SpringStep IV Plus™ subfloor, should never be stacked more than 36 inches high. Any panels that are being moved need to be secured with rope so they do not slide or shift. When you arrive at your destination, don’t leave your flooring outside. Bring it indoors as soon as you can.
Reinstalling your dance floor
Installing your dance floor or dance floor system is always the last thing you do in your studio. All construction, painting and electrical work should be completed. Now begins the process of reinstallation. You should always acclimate the flooring for at least 24 hours to the new environment — be it vinyl or portable wood panels — before attempting to reinstall. Check the Installation Guide from Stagestep for the specific acclamation time frame for your floor flooring type.
Never roll out your flooring immediately upon arrival. When you roll it out, make sure it lies flat to your subfloor. If need be, allow the floor to settle overnight before taping.
Set the temperature of the room to 75-80 degrees F. Humidity should be 50 percent. If you are installing your subfloor directly over concrete, you must install a liquid or vinyl vapor barrier on the concrete first.
After enough time for acclimation has passed, you are ready to reinstall your dance floor at the new location. Again, follow the original installation guidelines for your flooring type.
Whether you are touring or moving to a larger dance studio, portable dance flooring is convenient and can save you a lot of money. Knowing how to successfully move, transport and reinstall your portable flooring without damaging the materials is vital to keeping your investment viable. Keep this guide with you, so you don’t forget any of the important steps!
Have questions about installation or moving your dance floor? Stagestep can help! Contact Stagestep or download the installation guide here.
Share this: